We used to have under cabinet lighting but we removed them because they were halogen and very energy inefficient and they were installed terribly. The cords were run inside the cabinets across the bottom shelves and it severely limited what and where we could place our dishes. Our plan when taking them out was to install new ones right away but it took as awhile to get to it. Eventually it got really frustrating not being able to see what we were doing on the counters and finally prioritized this project.
Design Goals
- Provide adequate work lighting
- Minimize energy use and waste
- Choose a fixture that could be reused if cabinets are updated
Design Options + Considerations
For our under cabinet lights, we knew we wanted LEDs since they use the least amount of energy and produce the least amount of heat. These were some of the other things we took into consideration:
1 | Voltage
For under cabinet lights, there are two main types: regular line voltage (120V) or low voltage (12V or 24V). They are similar in terms of energy use, light quality, and life span. Where they differ is that low voltage uses smaller fixtures allows you to fit more in a tight space and they produce less heat.
A transformer is necessary for low voltage and can be installed in the cabinet or somewhere along the circuit.
2 | Wiring
Under cabinet lights can either be plug-in or direct wire. Plug-in can be plugged in to an existing outlet, making them easier to install while direct wire will require hiring an electrician.
Some lights can be used either plug-in or direct wire and some lights are only one way or the other.
3 | Ability to Dim
Some lights can be dimmed which helps with controlling the mood. Also, dimming the lights when not needed at full brightness can save energy. It’s best to get the brightest option possible and control the brightness level with dimming.
4 | Color Temperature
Under cabinet lighting comes in a range of temperatures and some even come with controls to change them to different temperatures. We tend to like warmer light and all of the rest of our fixtures are 2700k so it was important to us to stick with that.
5 | Style of Light
Under cabinet LEDs are available in either strips or puck lights. Strip lighting provides uniform illumination while pucks offer more focused lighting. Strip lights are generally more simple to install and while puck lights are considered slightly more complicated. Puck lights are available in very thin fixtures now and so can look very sleek.
6 | Placement
Both strips and pucks are best installed towards the front of the cabinet since this make is harder to see them and also less likely to create glare.
In Summary, What We Want
Low voltage, plug in, dimmable, 2700k, spotlights
What The Decision Process Was Really Like
This summary makes it sound like these decisions were a straightforward process but it was anything but. When we first started looking, I couldn’t find any affordable, modern looking plug in options that came in 2700k so we purchased a set, I believe from Ikea, in 3000k to see if we could deal with the temperature. It did have the ability to dim so we thought that might make it work. We couldn’t deal with the temperature and returned those. We couldn’t find any other options we liked at the time so we put the project on hold for a while.
Then I found out the Ikea came out with a new plug in option that did come in 2700k so we decided to more forward with the project again. This time we couldn’t decide between strips or pucks. Everything I read said that strips look more modern and we live in a modern industrial loft so decided to go that route. We got them home and held them up and it was a no for me. I knew I wanted to pucks. So we returned the strips and exchanged them for pucks.
When we finally settled on what we wanted, this is what we ended up with:
Lighting:
- Mittled LED Dimmable Spotlights
- Tradfri Driver
- Ansulat Power Cord
- Tradfri Remote (Discontinued – New Option)
- Cord Cover to Protect Wires
Actual Costs
- Spotlights (5@$13): $65
- Driver: $35
- Power Cord: $7
- Wireless Remote: $15
- Cord Cover:
Total Costs: $122 plus tax
Planning the Installation
General recommendations suggest spacing pucks from 8 to 12 inches apart. Since our space is on the small side and I wanted as much light as possible, I decided to go for the smallest recommended distance.
The first thing I did was get out my graph paper and sketch the cabinets to scale.
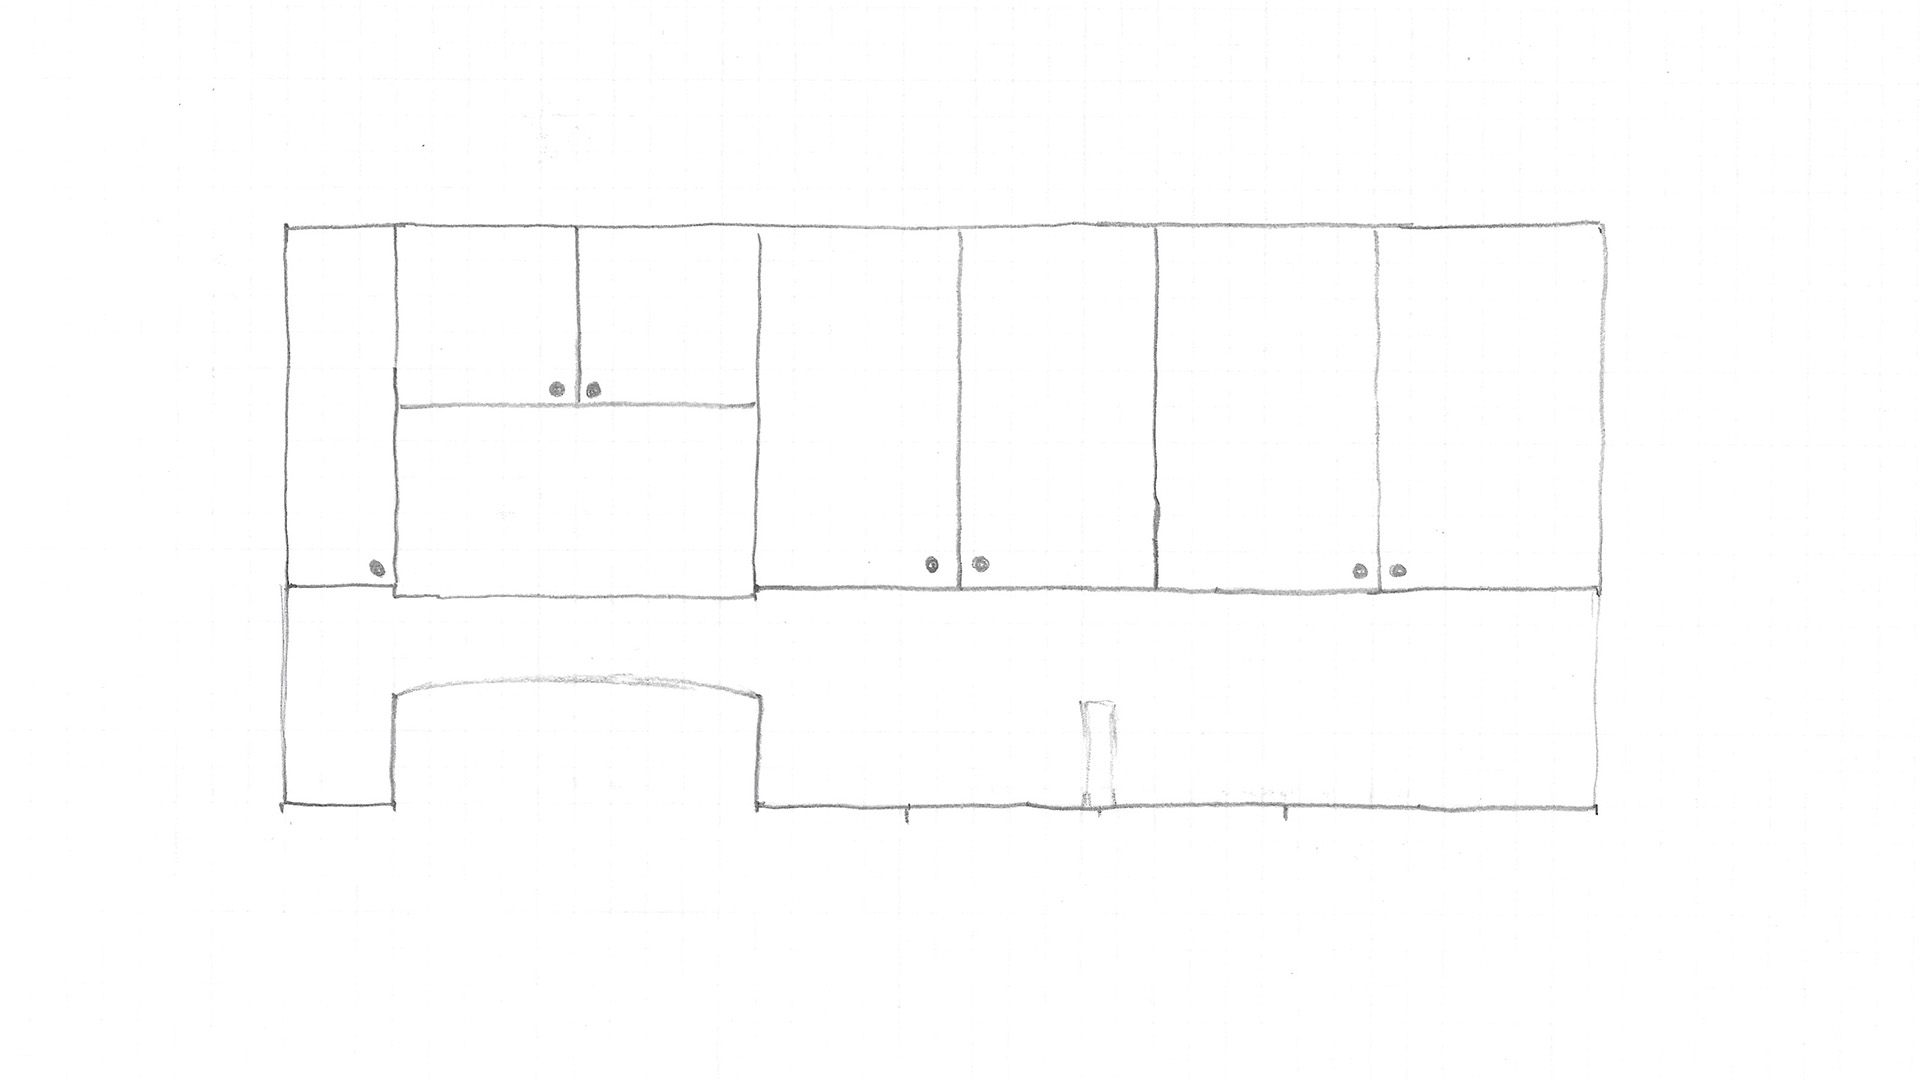
Sketch of cabinets, to scale
Then I measured and played with a couple of options for how to place the lights so they would make sense. The cabinets above the main section of counter space are not symmetrical which meant that there wasn’t an obvious way to install the lights. I wanted them to create even lighting while seeming intentional.
The first option was to place them evenly across the space. This option didn’t end up creating evenly spaced lighting because the counter/cabinet section on the left is much smaller.
Another option was to place them centered on each cabinet. I didn’t really consider this one because I didn’t like how it would create uneven lighting.
I decided to go with option three which placed the outer most lights evenly spaced with the furthermost left light and then evenly spaced the lights between them. I moved the furthermost right light in a little because that seemed more balanced because of the fridge placement cutting off the light flow. Even though this option had no relation to the spacing of the cabinets or the placement of the sink, it created the most even lighting. I’m very happy with how it turned out.

Option 1
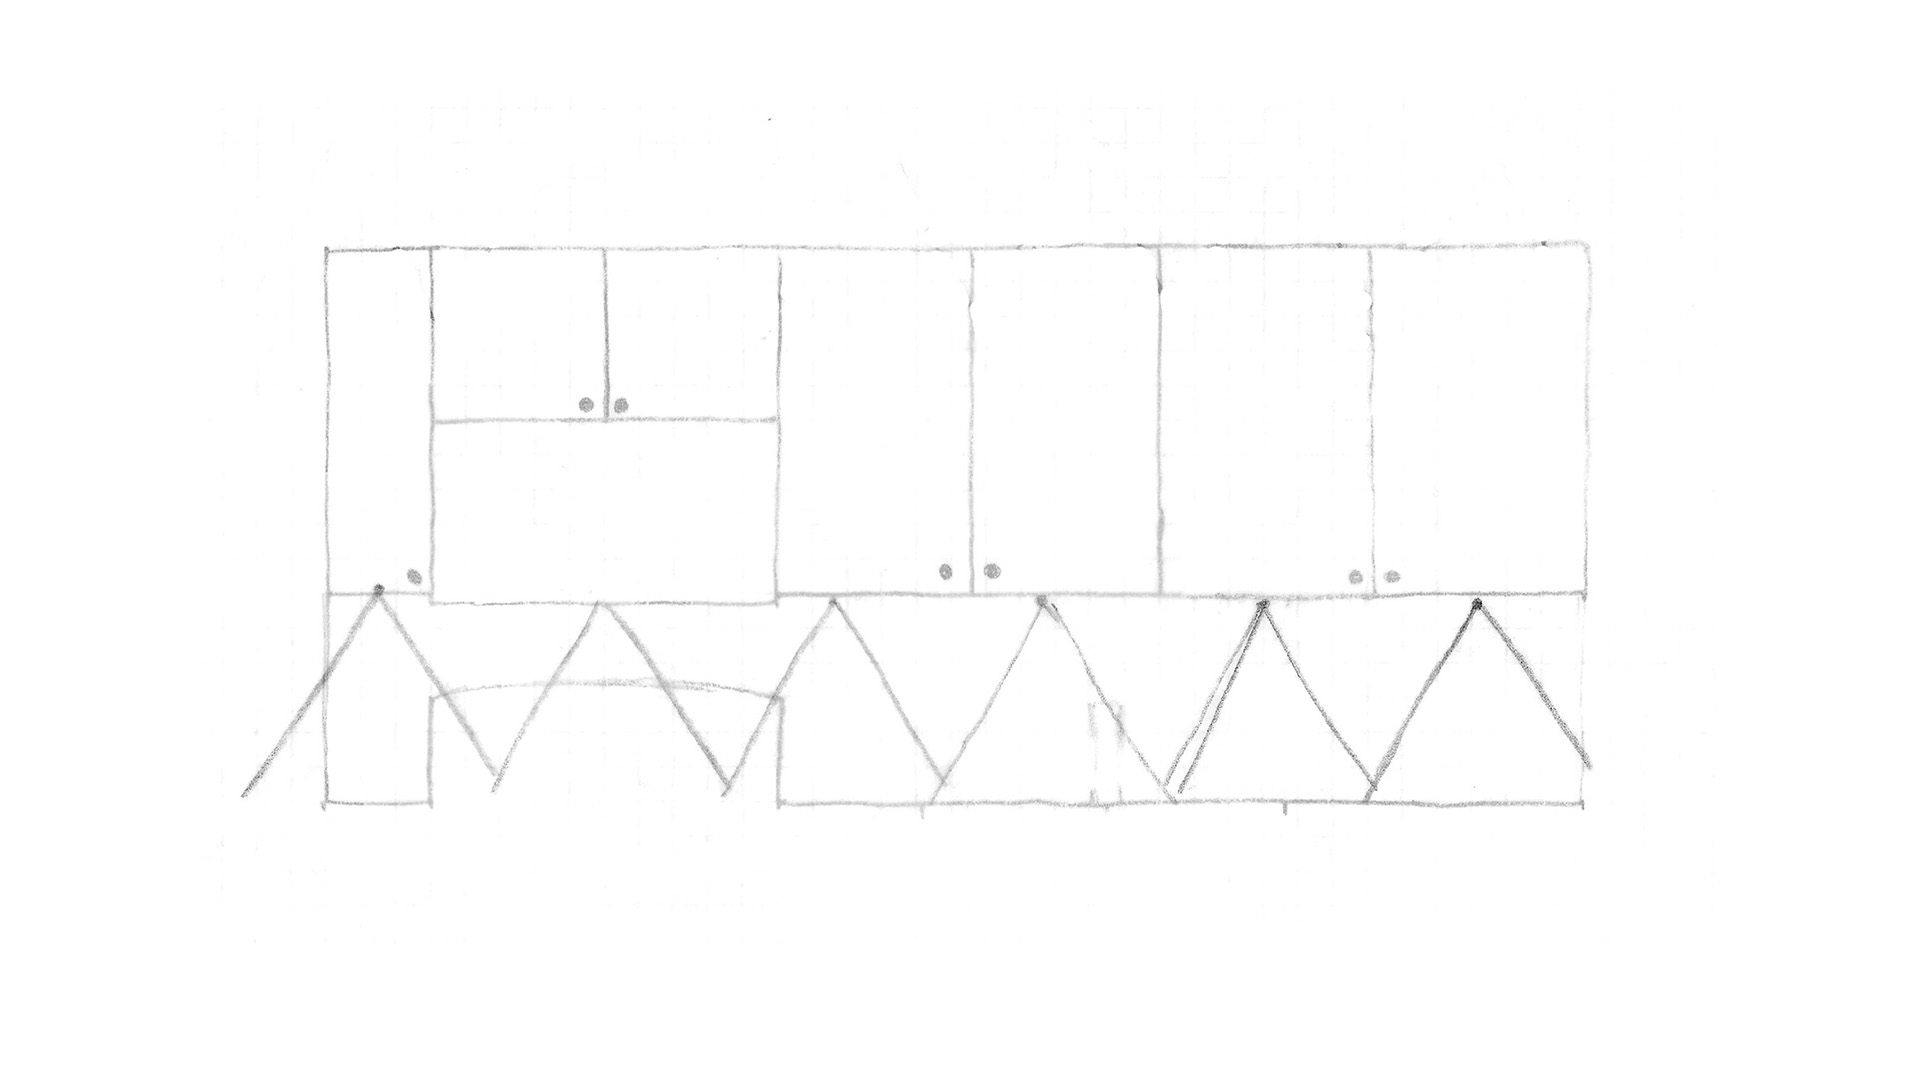
Option 2
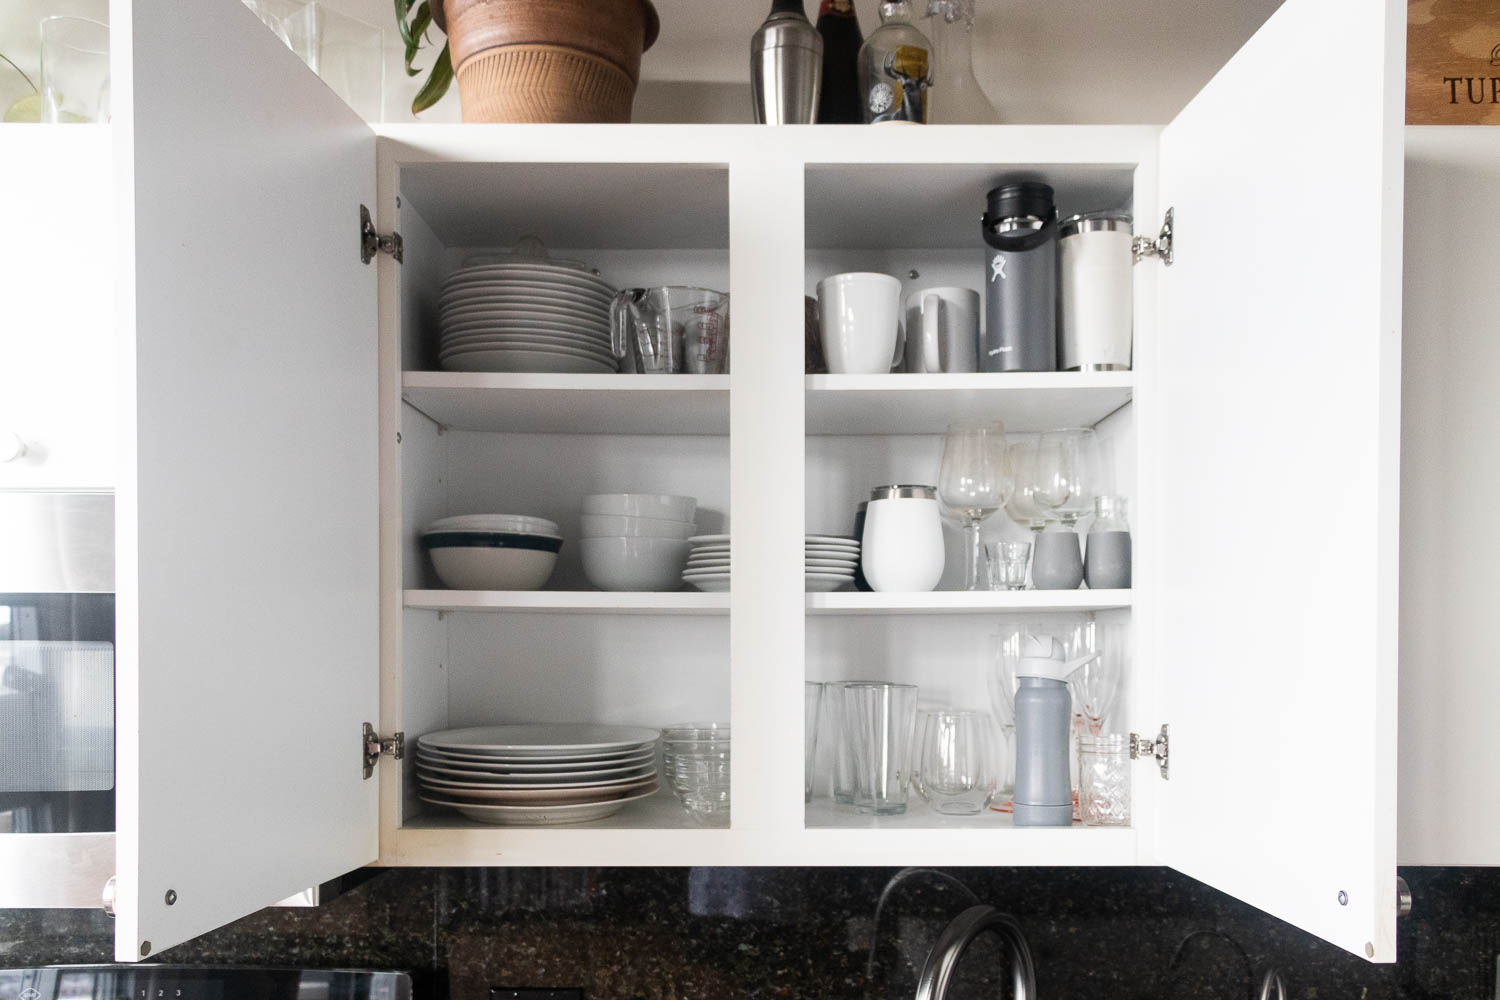
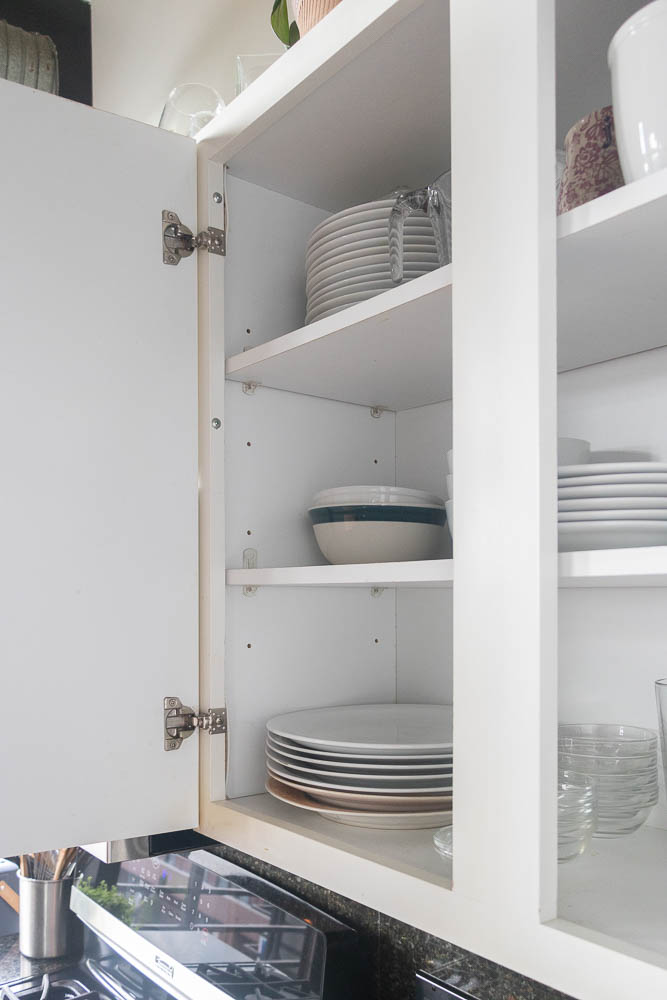
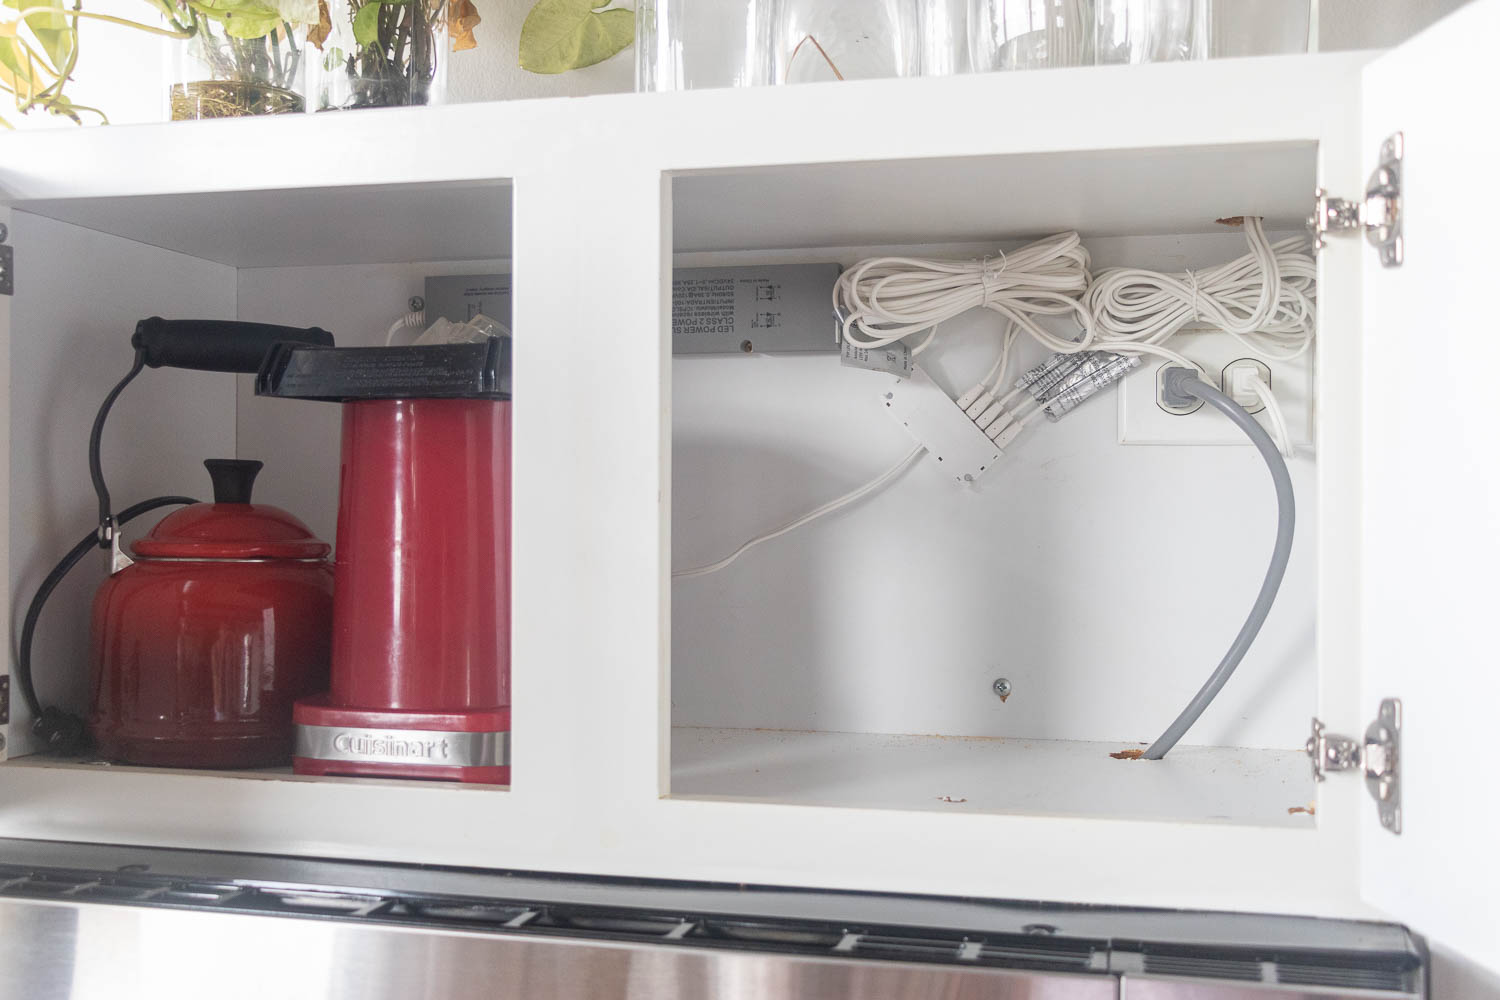
After I had decided where to place the pucks, the next step was to figure out where to place the driver and how to run the wires. We have an outlet in the cabinet above the microwave so we knew that’s where we wanted to plug them in but we considered both placing the transformer in the cabinet as well as placing it on top of the cabinets. Because of our experience with the previous lights cluttering up our cabinets, I knew that I wanted them to be installed in a way that was as minimal and discreet as possible. Plus, our kitchen is small with no pantry so I was not willing to give up any useable space.
Thus, the plan was to drill holes toward the front of the cabinets and run the wires up the fronts to the top of the cabinets and then run them all to the upper cabinet above the microwave where we would plug them into the driver and then the outlet.
We considered placing the driver on top of the cabinets but that area gets a lot of grease and would be one more thing to keep clean. We thought about placing it in a box but that still didn’t seem like a great option. We settled on placing it in the cabinet but committed to installing it in a way that wouldn’t take up any space.
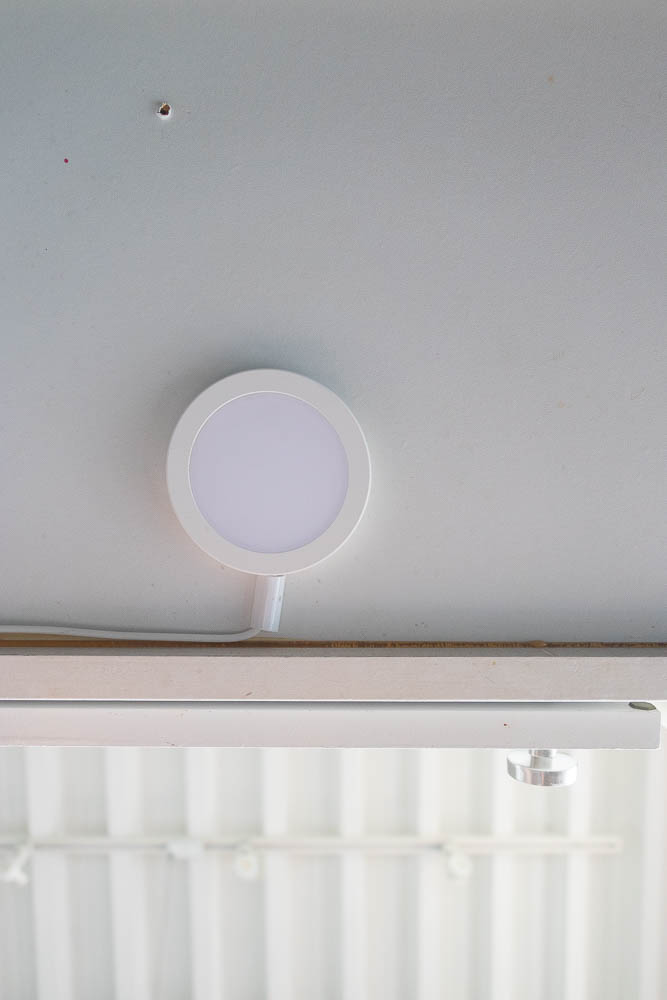
Spotlight Placement
This photo shows how I placed them as close to the front of the cabinets as possible. I really wanted them to be in the covers that came with the lights so this was as far forward as I could get them because I had to make enough room to get the bends in the cord close to a 90 degree angle. You can also see how the cord follows the front of the cabinet and then threads through the hole. From there it goes up the fronts of the cabinets to the top and then over and down where it plugs into the driver, shown below.
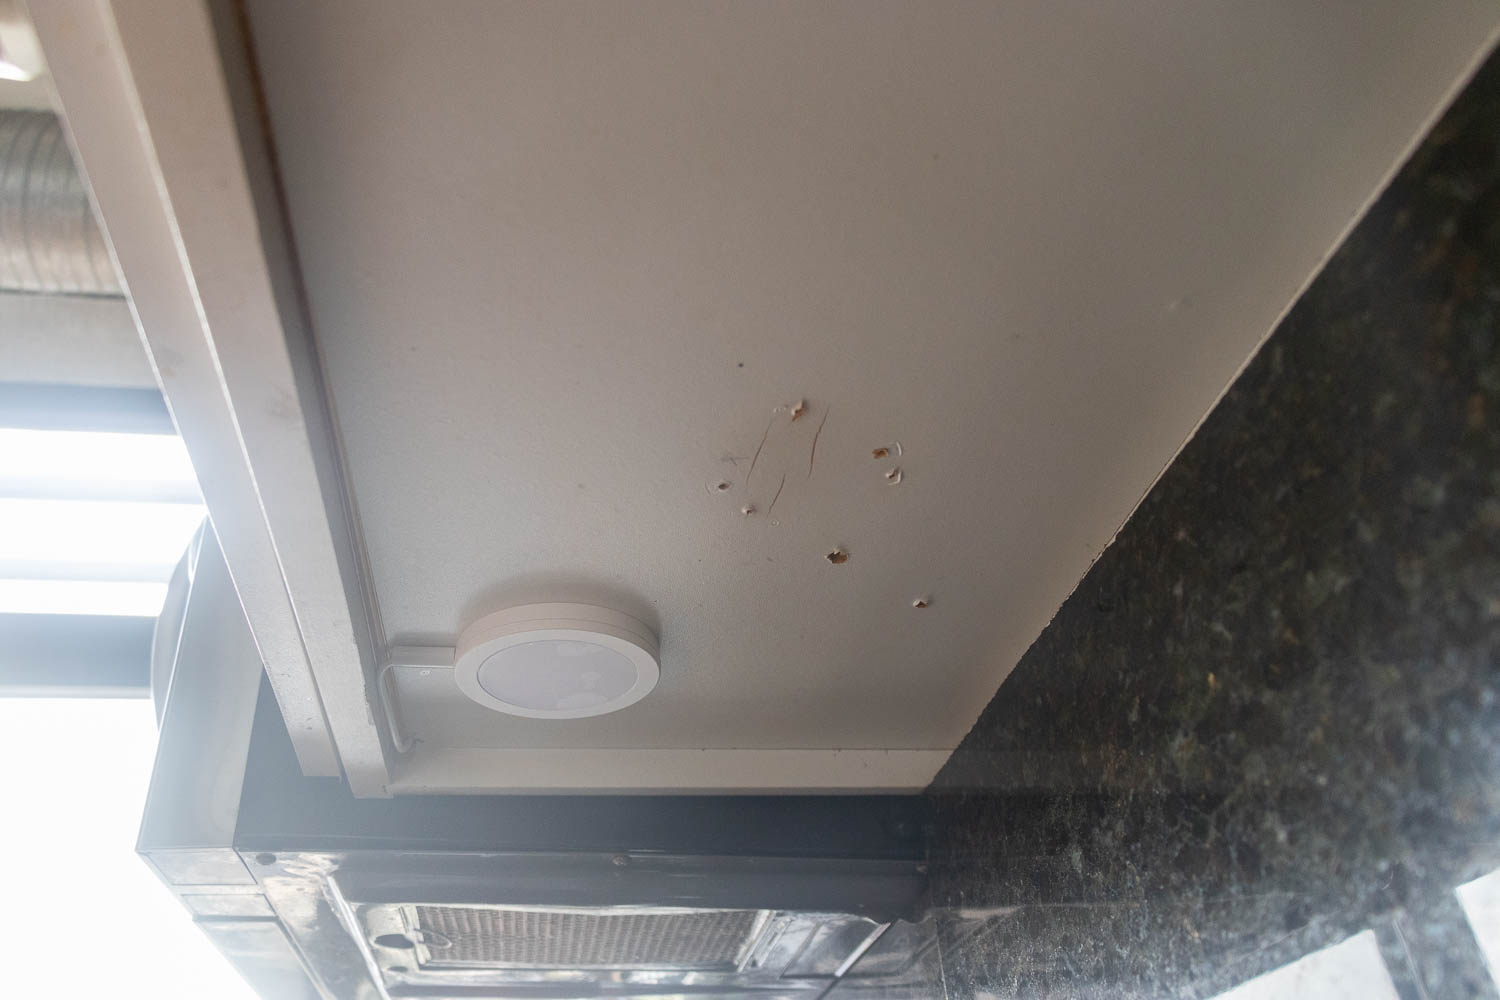
Here you can see the balance I had to make between getting the pucks as close to the front as possible while also making enough room for the covers and the necessary bends to get the cord in them. I wanted to use the covers for a couple of reasons. One was that we had them since they came with the lights. If we didn’t use them, we’d have to use some other way to attach the cords to the surface such as staples and I didn’t want to create any additional unneccessary holes (you can see the old holes here from the previous lights). Another reason I wanted to use the covers was to minimize dirt and make it easier to clean. Getting the lights close to the front meant that the right angle bend was harder to achieve, which you can see in this photo but I thought it was good enough.
This next photo shows how the lights are spaced below the cabinets in order to create the most even lighting over the surface and also to keep the lights as close as possible to the front to minimize visibility and glare.
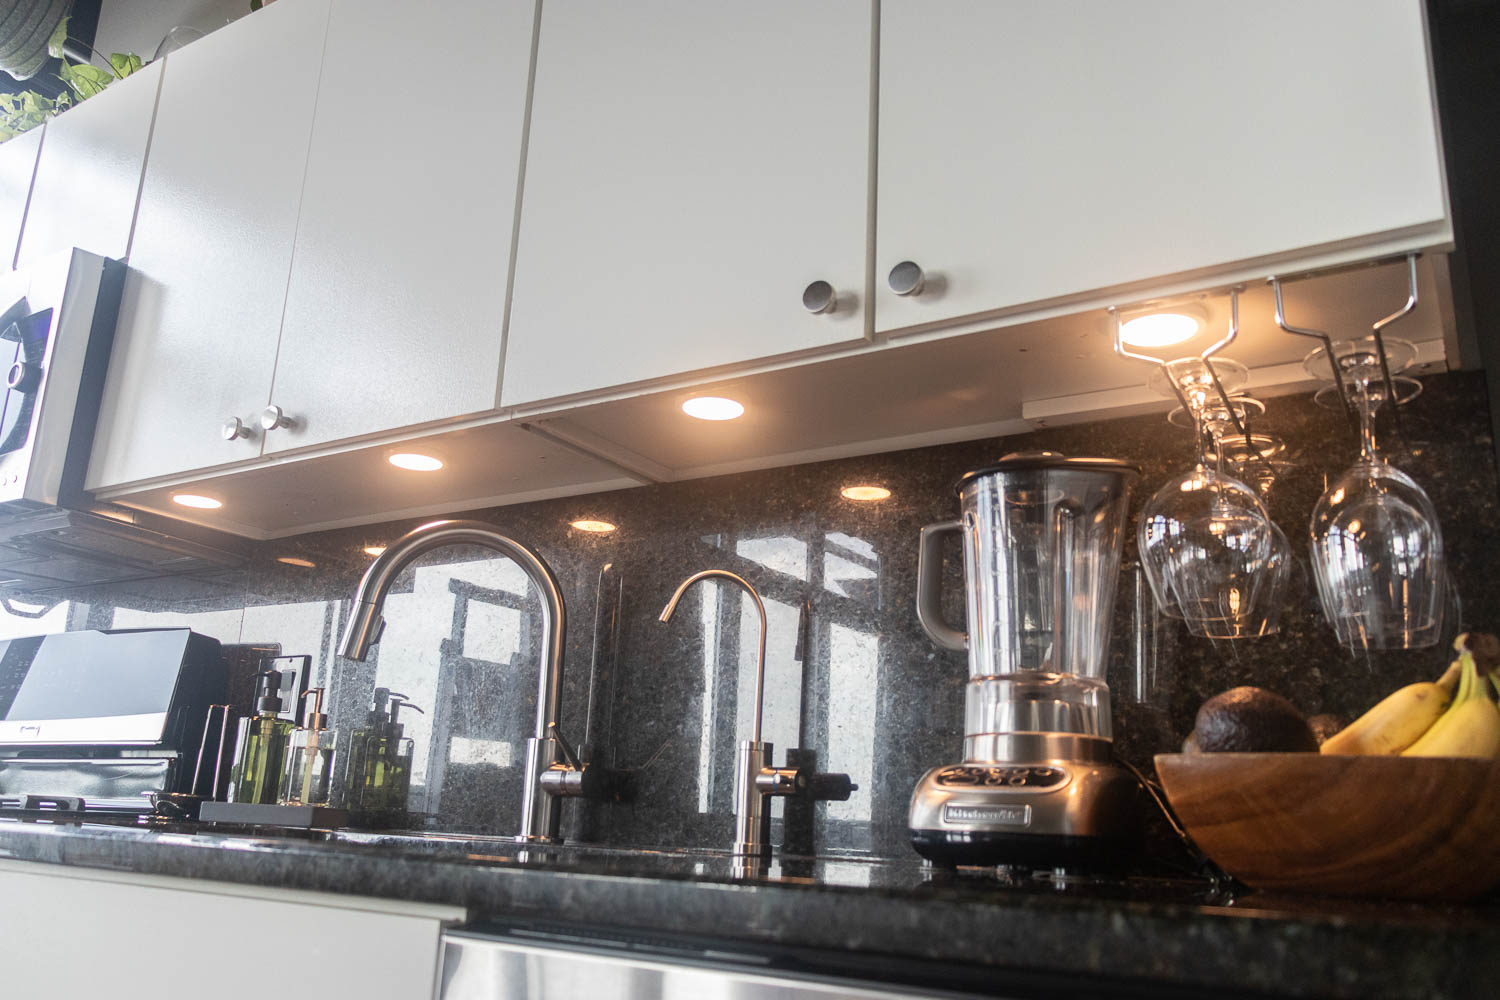
Here you can see how the lights aren’t really centered on the sink or the cabinets but they do a good job of creating balanced lighting from this position and are close enough over the two sides of the sink that it’s not noticeable that they aren’t perfectly centered.
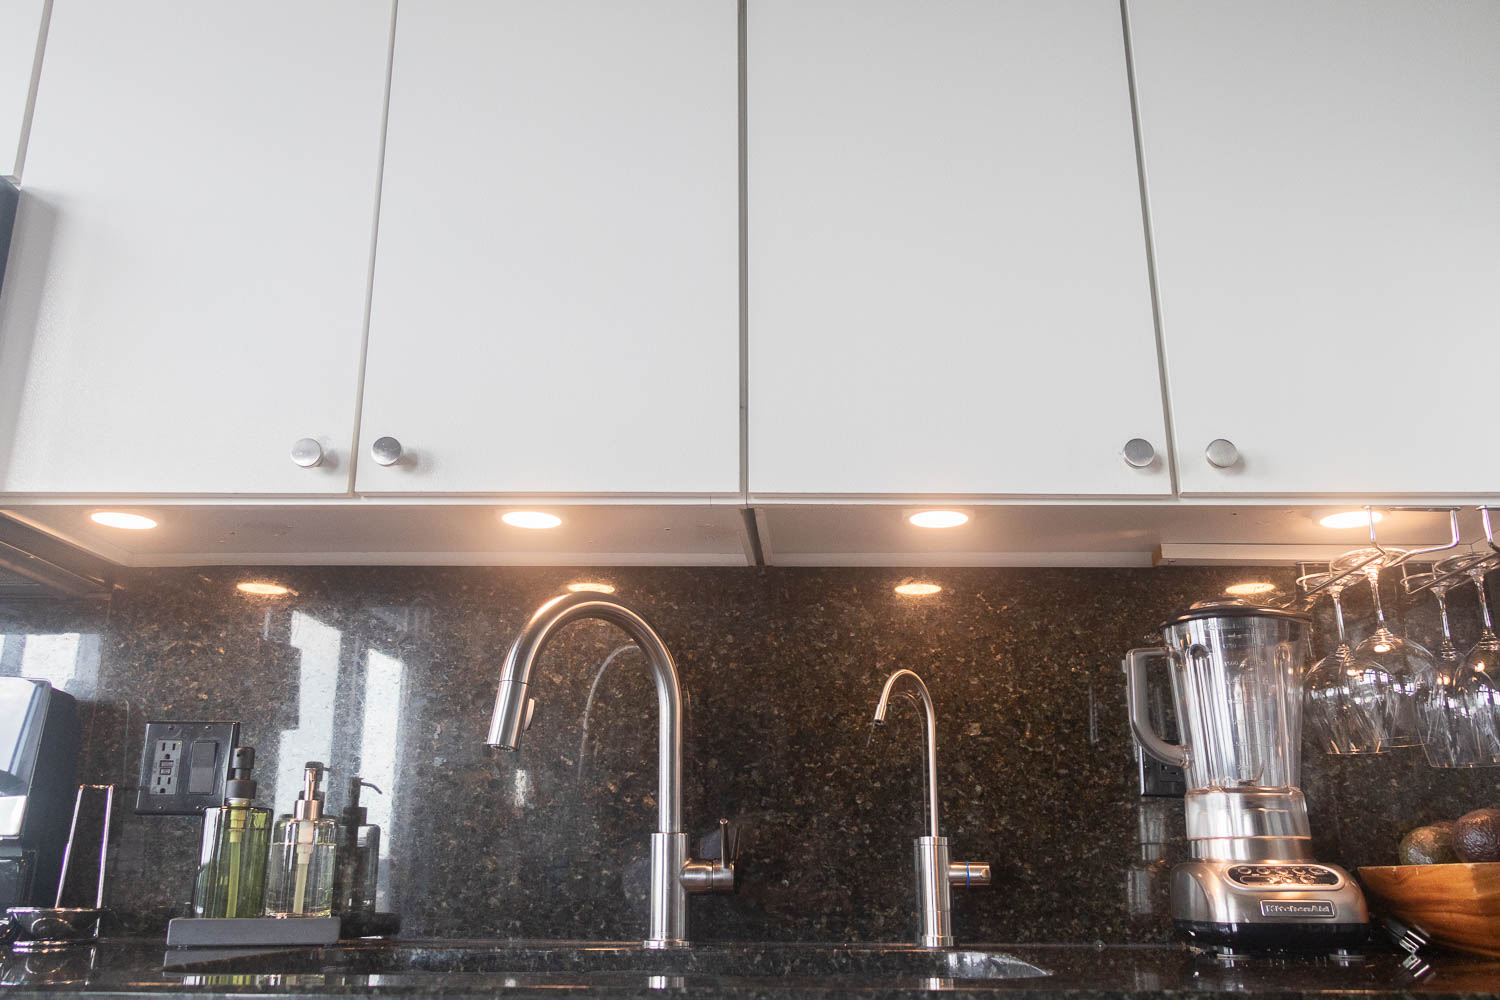
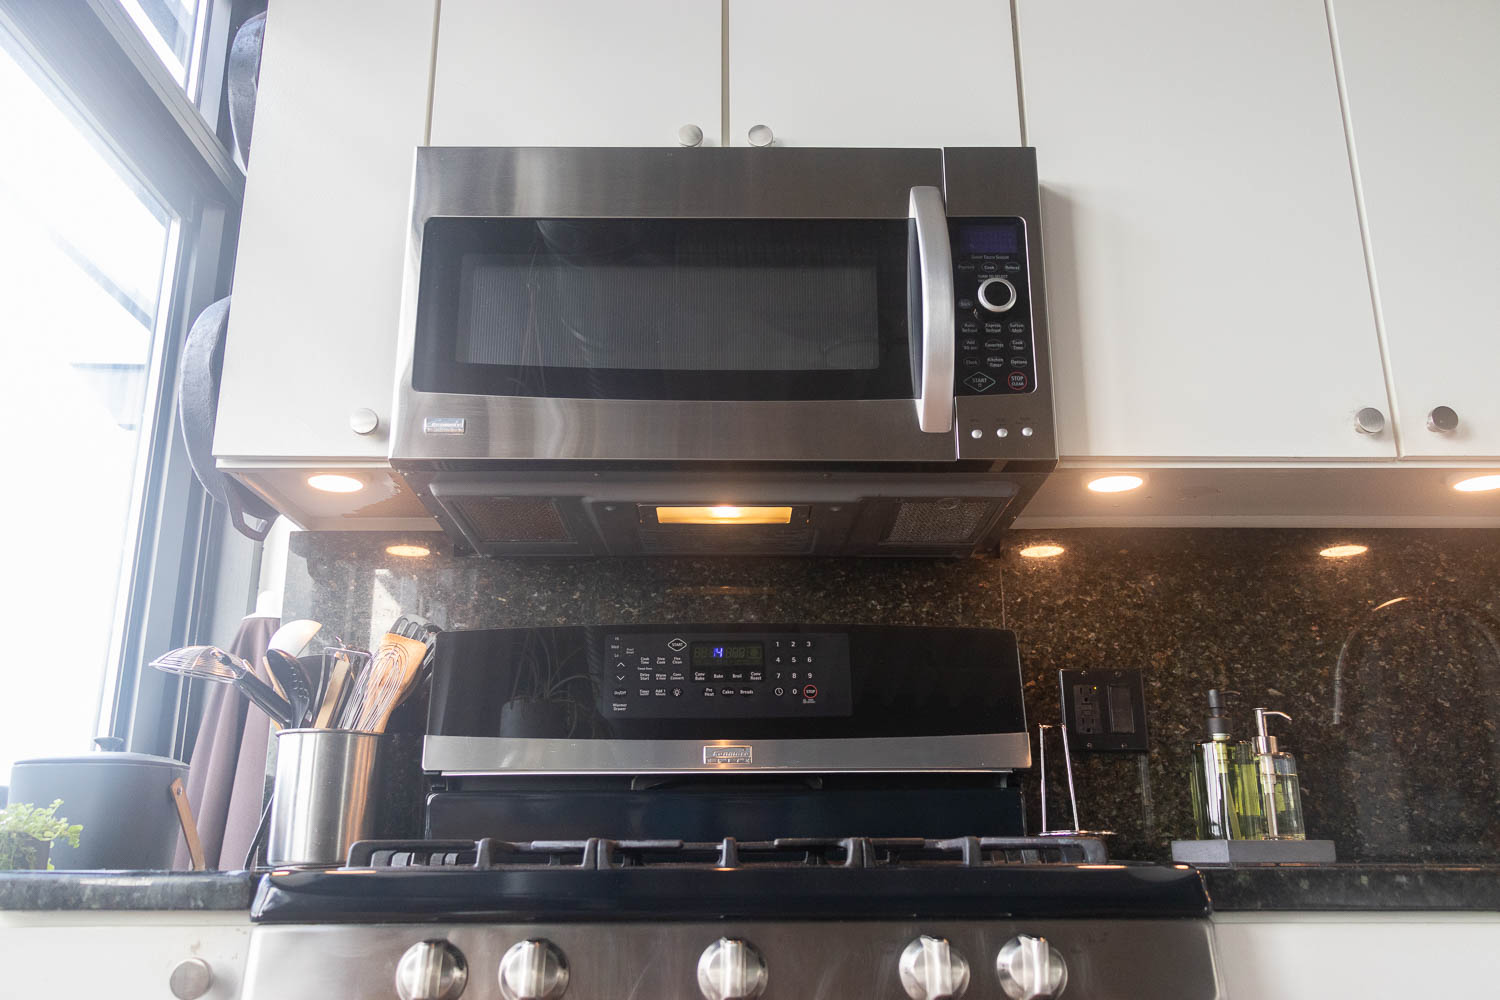
The next photo shows how the two spotlights were centered on either side of the range to create balanced lighting across the space.
Cord Placement
It was really important to me that we didn’t have any cords cluttering up our cabinets, either physically or visually. In the next photo you can see that the cords are completely hidden from regular view which makes me very happy.
In this next group of photos you can see how we drilled the holes at the front of the cabinets to keep keep them as hidden as possible.

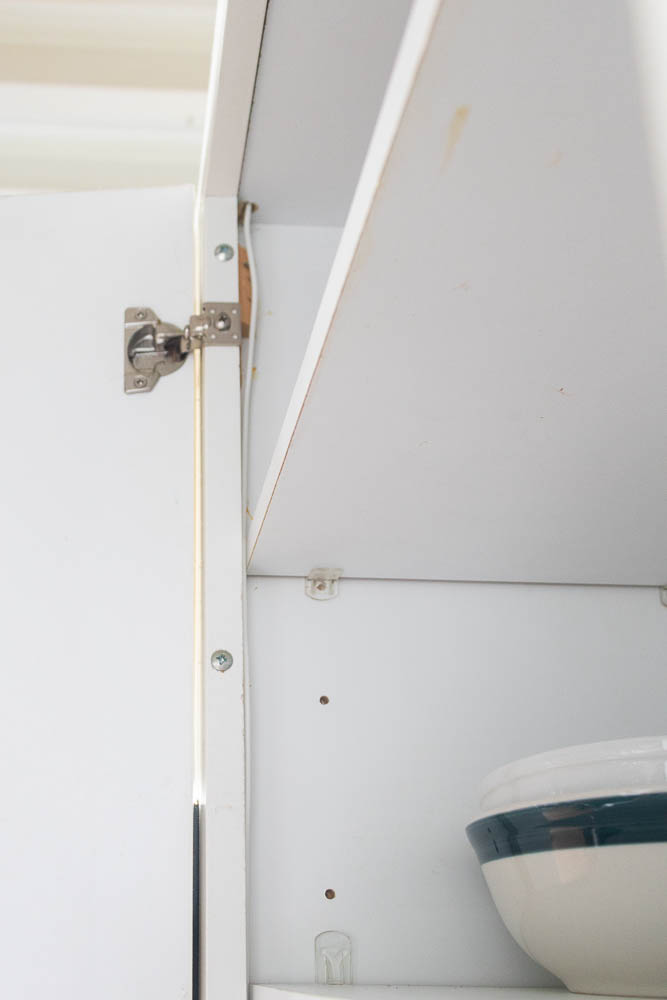
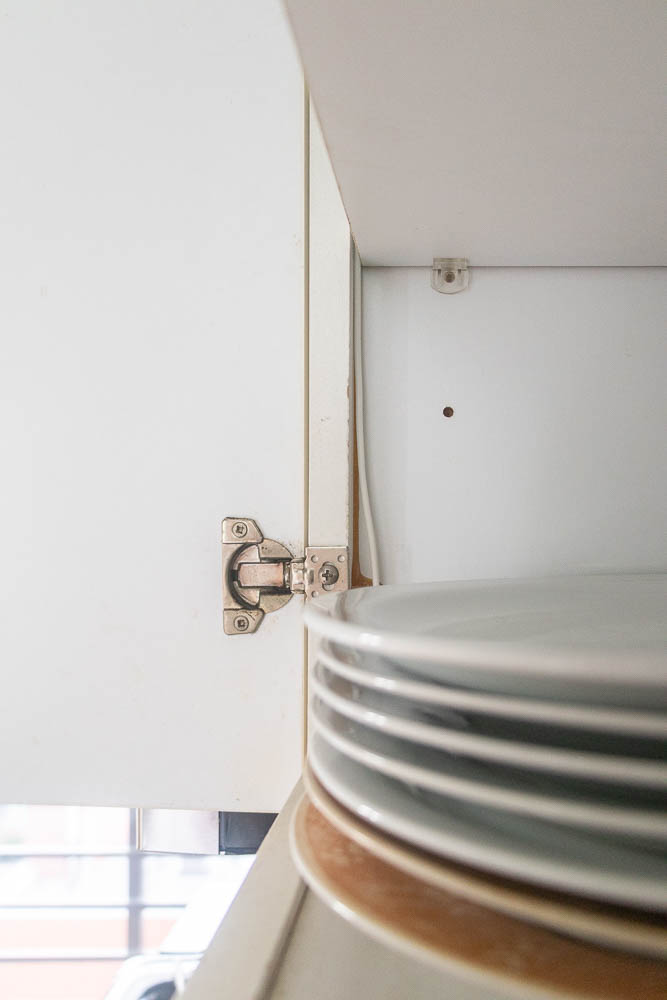
In this photo you can see how the wires are all bundled in the cord protector which is attached to the front lip at the top of the cabinet. We had to drill a hole through the horizontal pieces that run from front to back at the top of each of the cabinets so that all the wires can get the hole that goes down into the cabinet where the driver is stored.
The empty hole in this photo is from the previous installation of under cabinet lights and we didn’t have any use for it because we wanted to bring all of the cords to the one upper cabinet so as to be as out of the way and invisible as possible.

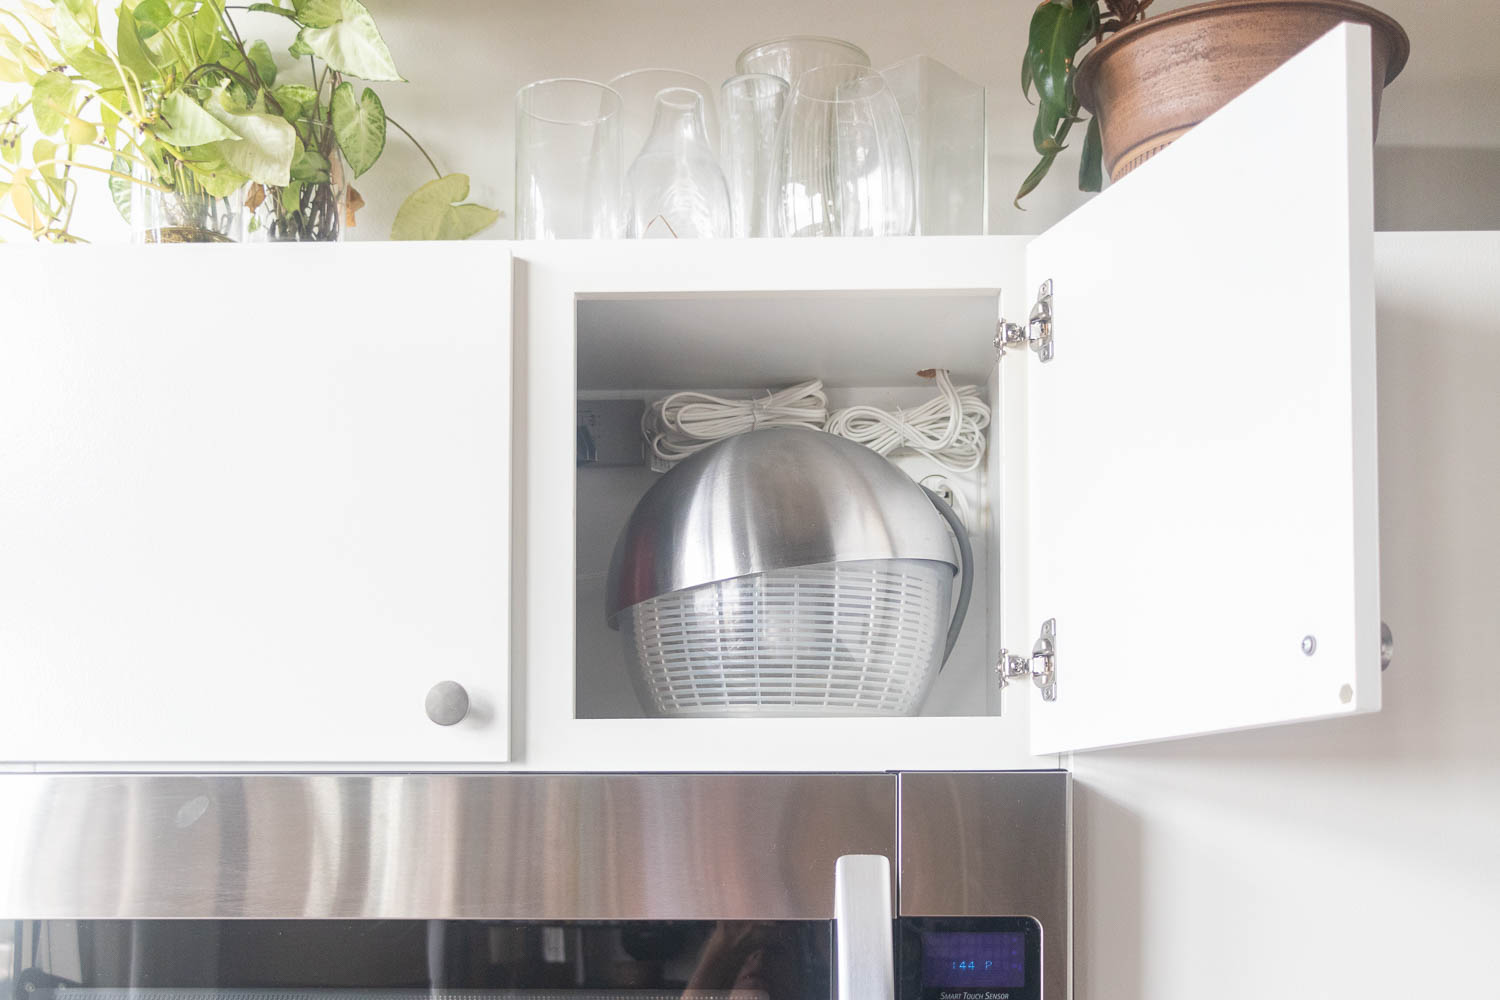
Here you can see how we hung the driver and tied the excess cords to keep them out of the way. The next photo shows what it looks like with our normal cabinet storage in place.
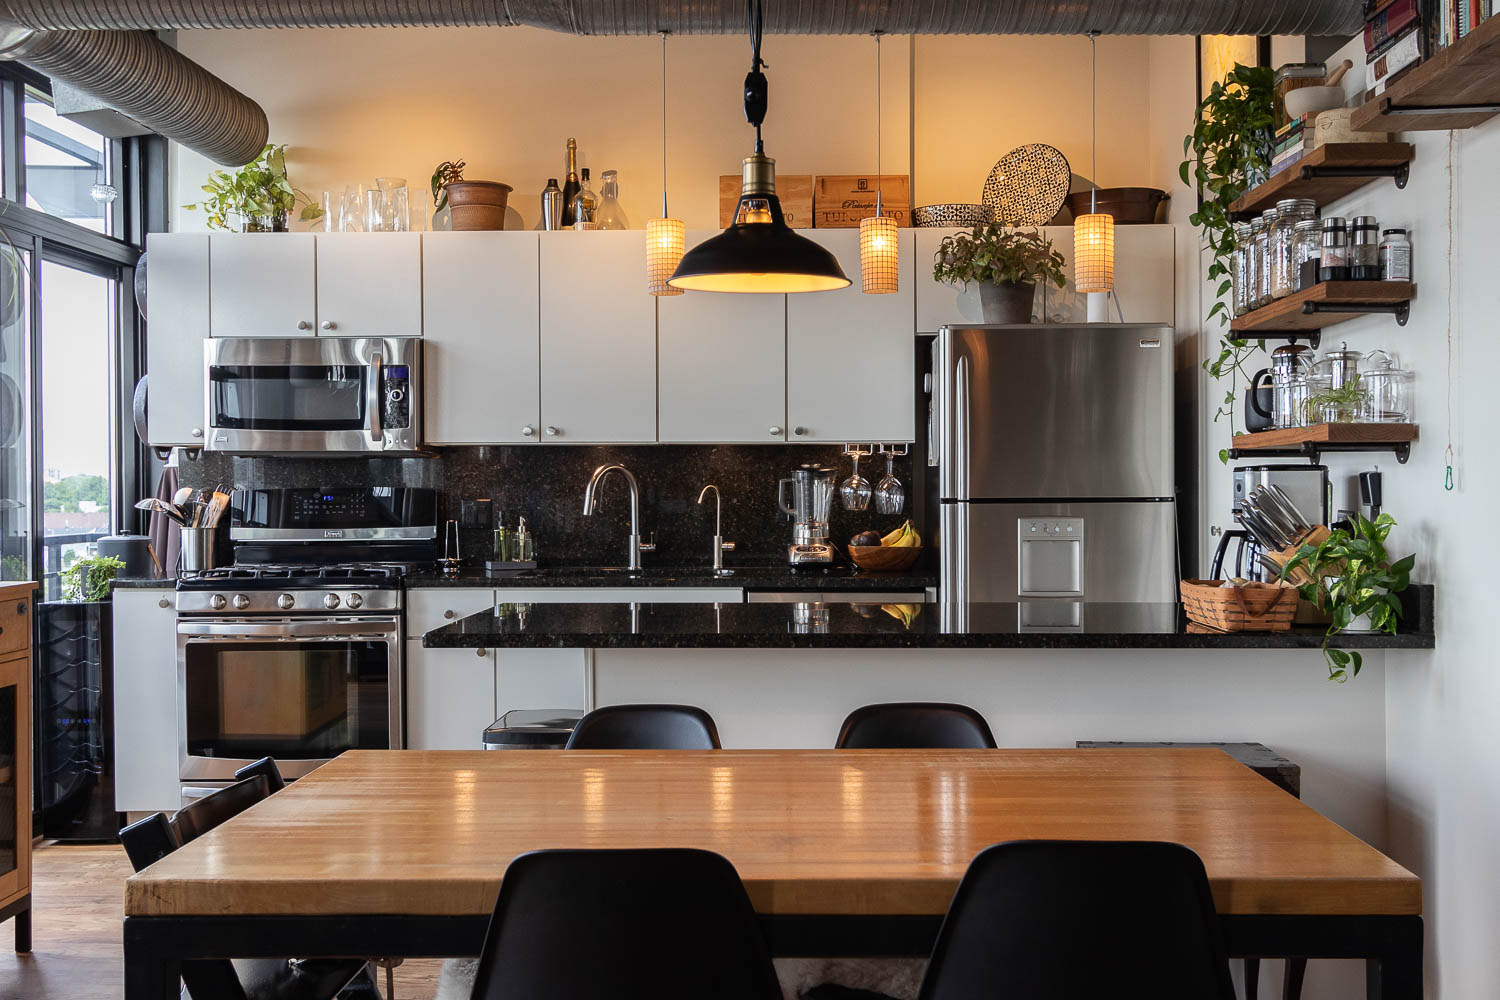
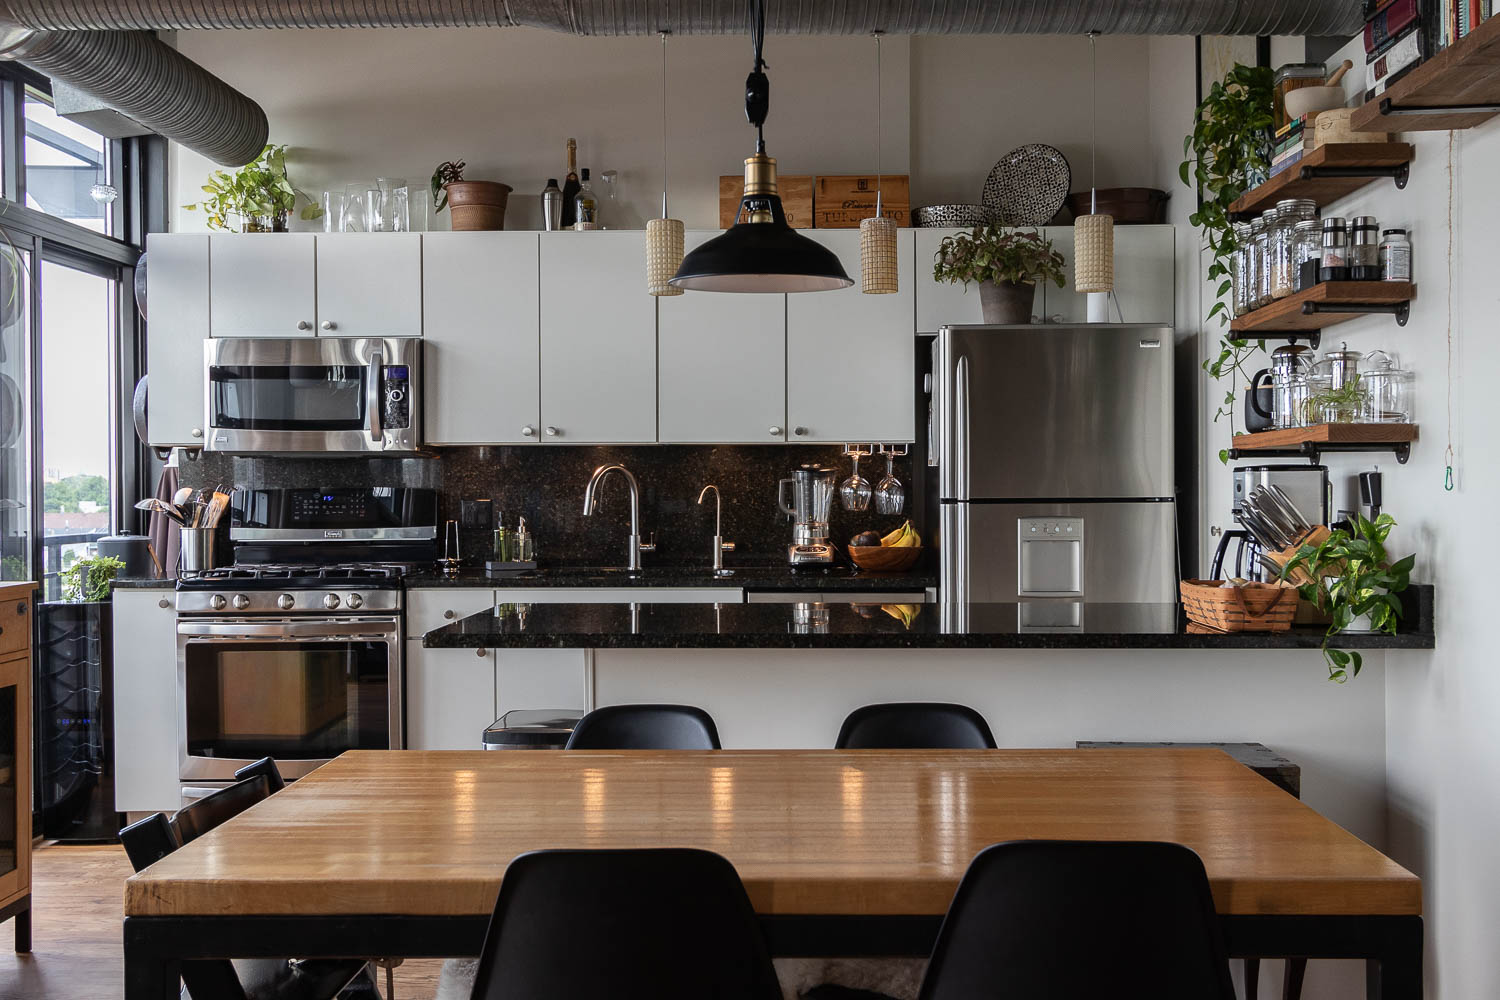
I really like the subtle lighting that this project provides in the kitchen and so glad we finally tackled this project. Here you can see the lighting that just the spotlights provide on the left and on the right is with all of the kitchen lights on. It is now so much easier to work in the space and it also creates a great ambiance later in the evening when we want just a little bit of light on.
Under cabinet lights on